Yoga Poses
Most people assume that doing yoga requires having a yoga mat, special equipment or a dedicated workout space, which is why yoga often gets pushed aside until the right setup is available.
According to a Global Yoga Survey, while a greater majority, 90.8% of dedicated practitioners lean heavily on tools like yoga blocks, equipment and clothing but plenty of people still manage to find immense success with no gear at all.
A Yoga Mat isn’t always necessary because plenty of yoga poses can be practiced comfortably on a carpet, rug, grassy surface or any stable, non-slippery floor.
Whether it’s at home, in the office, or while one is travelling, these simple Yoga Poses make it super easy for practitioners to keep up their strength and agility in any environment.
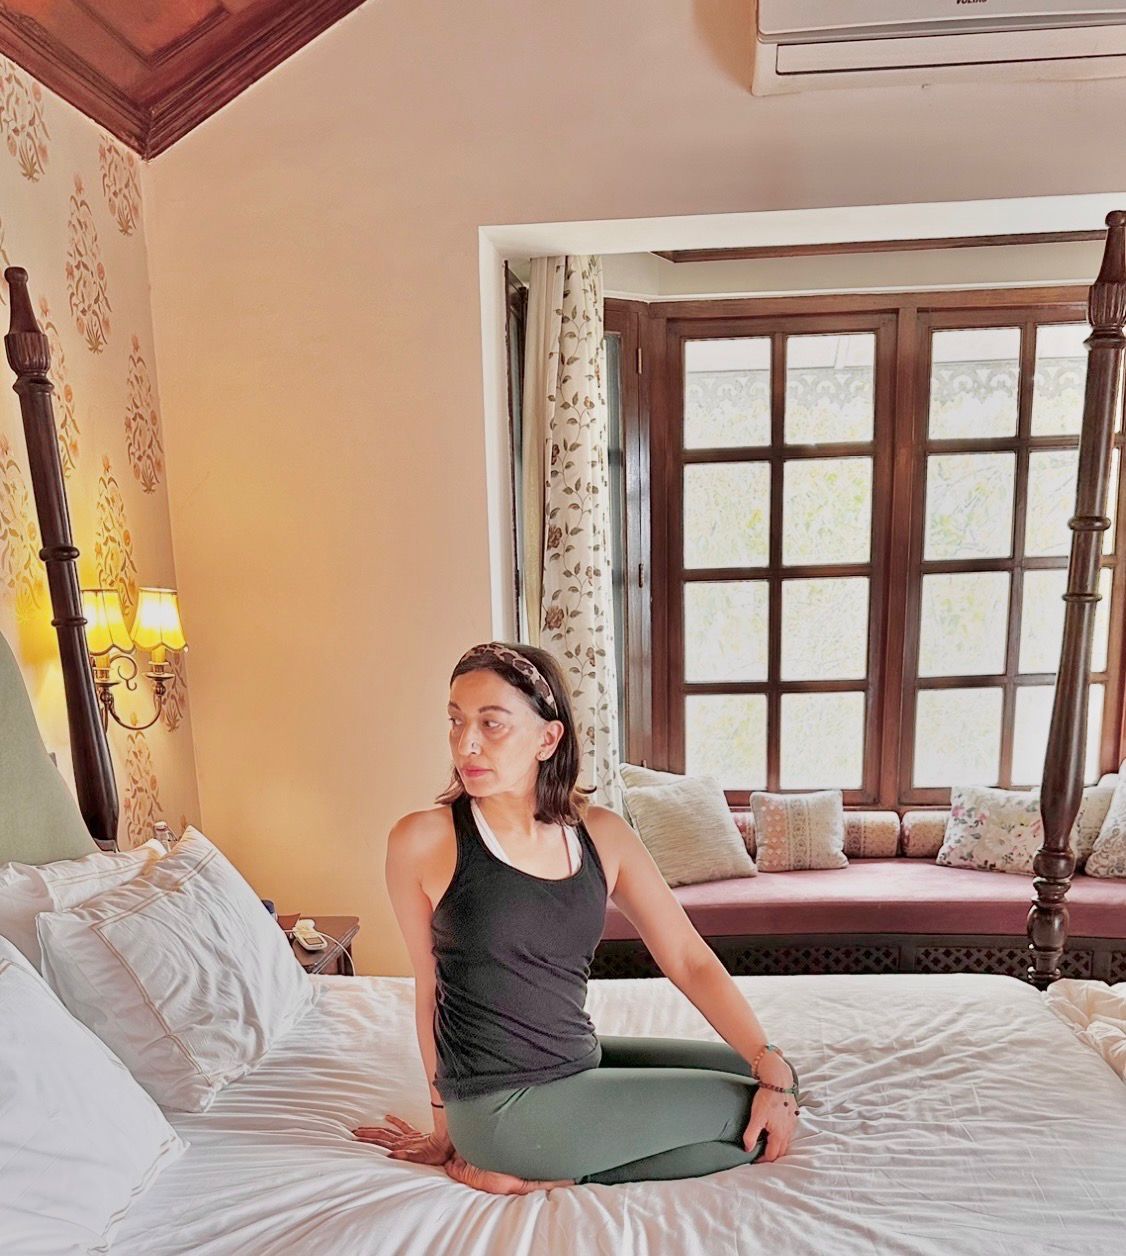
Try Yoga Without a Mat
One of yoga’s greatest strengths is its accessibility, so a lack of equipment should never stand in the way of movement and mindfulness. Many standing, seated and kneeling poses require little more than a comfortable surface and a few minutes of uninterrupted time.
Yoga is not about absolving ourselves from the responsibilities of everyday life but rather about making ourselves mentally calm and steady and physically strong and agile so that those responsibilities are dealt with easily in our stride.
Practicing right where we are, without waiting for the "perfect" mat setup, is the way to bring our practice into that practical arena of everyday life.
Mountain Pose (Tadasana) / Samasthithi
Standing erect while remaining steady, structurally aligned and relaxed is called Mountain pose. This basic standing posture forms the foundation of our yoga practice and it promotes body awareness, balance and alignment.
To Practice This Pose :-
- Stand with feet hip-width apart. Kept the weight distributed across the full feet the balls of the feet, the heels and the outer edges. The inner edges of the feet should have good arches.
- Relax the shoulders. Keep them gently drawn back and down.
- Lengthen the spine, without allowing the lower back to over arch. To achieve a flat, stable lower back, keep the tailbone lengthened down and tucked into the body.
- Keep the chin drawn in towards the chest.
- Check to see that our ears are over our shoulders our shoulders are over our hips hips over knees and knees over ankles.
- Breathe slowly and evenly.
Tree Pose (Vrikshasana)
The tree pose works remarkably for developing stability and concentration. This asana builds balance while encouraging mental focus.
To do the tree pose, individuals need to :-
- Stand on one leg
- Place the opposite foot against the inner calf or inner thigh.
- Bring the palms together at the chest.
- Practice ‘Drishti’ by focusing one’s eyes on a fixed point ahead.
- Keep one's gaze soft and unshifting.
- Breathe slowly and rhythmically.
- Hold for a full minute on each side.
Chair Pose (Utkatasana)
The chair pose combines strength and endurance in a single movement. It strengthens the legs, especially the quadricep muscles, also the glutes and the core.
To Do The Chair Pose :-
- We stand tall with our feet slightly apart.
- Bend the knees and drop the hips back as though sitting on an invisible chair.
- Raise the arms overhead or parallel to the floor.
- Hold for 20-30 seconds, feeling the strong activation of the thigh muscles.
The load should be on the thighs, not the knees. - Repeat three to five times.
Standing Forward Fold (Uttanasana) / Hand To Feet Pose
After hours of sitting, the stretch of Uttanasana can feel incredibly refreshing as it helps to release tightness in the back, neck, and hamstrings.
To Practice This Pose :-
- Stand upright, inhale the arms overhead, then exhaling, fold forward from the hips.
- Allow the arms to hang naturally, keeping the shoulders passive and relaxed.
- Keep a slight bend in the knees, if necessary.
- Persons with Cervical spondylosis should not drop the head down fully; they should place their hands on their knees and keep the head slightly raised. Others can hang the head down fully, letting the crown of the head, face the floor.
- Persons who want to go deeper in the posture, can wrap their arms around their legs and pull their torso into the legs as much as possible.
- Hold for upto 20 seconds each time and repeat 3 to 5 times.
Cat-Cow Stretch
The ‘cat-cow' is a gentle sequence that encourages healthy spinal movement. We toggle the spine between arching and rounding up or a concave spine and then a convex spine. This helps to improve spinal flexibility and reduce stiffness in the muscles supporting the spine on both sides.
To Do The Cat-Cow Stretch :-
- Come onto our hands and knees; hands under shoulders and knees under hips.
- Inhale while arching the back and lifting the chest.
- Exhale while rounding the spine and lowering the head, tucking chin into chest.
- Continue toggling between these two positions.
- Be aware of synchronising the breath correctly; inhaling as we arch the spine and exhaling as we round up the spine and back.
Seated Twist
This is a very simple twist, which can prove to be very effective in easing lower back stiffness. Those who are experiencing issues with mobility must do the seated twist often to relieve tension.
Here’s How To Do It :-
- Sit comfortably with crossed legs.
- Catch one knee with the opposite hand.
- Place the other hand behind the body, in the centre of the hips and fingers pointing away.
- We can press the length of the inside arm and the back into each other.
Make sure we are sitting erect, no leaning back. - Inhaling, lengthen up and exhaling use and press both hands to twist the spine in the direction of the knee one has held.
- As we rotate, first turn the abdomen, then the chest; then the shoulders, neck and head.
- Try and gaze in line with the shoulder.
- Hold for ten seconds, then untwist; from top to down; so first untwist the head and neck, then the shoulders, chest and abdomen.
- Twist the same way on the other side.
Child’s Pose (Balasana)
Child’s Pose or Balasana, also known as ‘Shashank' asana is a wonderful restorative posture. In this pose, the spine comes over the heart, which encourages deep relaxation for the heart and a sense of calm. The posture also stretches the tight quadricep muscles and the stiff areas around the knee joint. The tops of the feet also get a beneficial stretch.
To Practice This :-
- Kneel and sit back, folding the lower legs back.
- Bring the hips between the heels; the big toes should touch and heels fall apart.
- Bend forward, resting the head on the ground or on one’s folded arms or on a cushion or pillow.
- Extend the arms forward on the floor or have them crossed in front to rest your head on; or then circle them around your pillow.
- Keep the hips pressed down as much as possible; ideally hips are on the ground.
- Relax and flatten the back; don’t let it round up.
- Breathe deeply and steadily.
- Feel a sense of deep release and relaxation in this posture.
Conclusion
On our travels when we may not have access to a yoga mat and other yoga props, we can do these postures with ease and keep up our practice.
For the rest of the time, join a Professional Yoga Studio, to get the benefit of well structured sessions that can improve flexibility, strength, mindfulness and overall well-being.
For more information or to start your wellness journey with yoga, Gurgaon residents can schedule a session at Yoga with Sapna today, to take the first step toward a healthier and more balanced lifestyle.